

This week we released the Brancher nodes in the Control Panel. The first release covers the basic functionality of creating and terminating Brancher nodes for owners and admins. The Control Panel is the interface layer over API, so if you’re not a fan of a command line (CLI) to manage your Brancher nodes, this is a time you can test it on your own in the Control Panel.
How to use it?
Brancher nodes let you create a copy of your Hypernode within minutes. If you want to test your production or development Hypernode, simply navigate to your Control Panel and find Brancher nodes in the navigation menu.
You’ll access the page of Brancher nodes, where you can simply create new, or terminate already active nodes.
We are still working on permission scenarios for developers and merchants, so if you don’t see the tab please choose a Hypernode you’re the owner to check the feature.
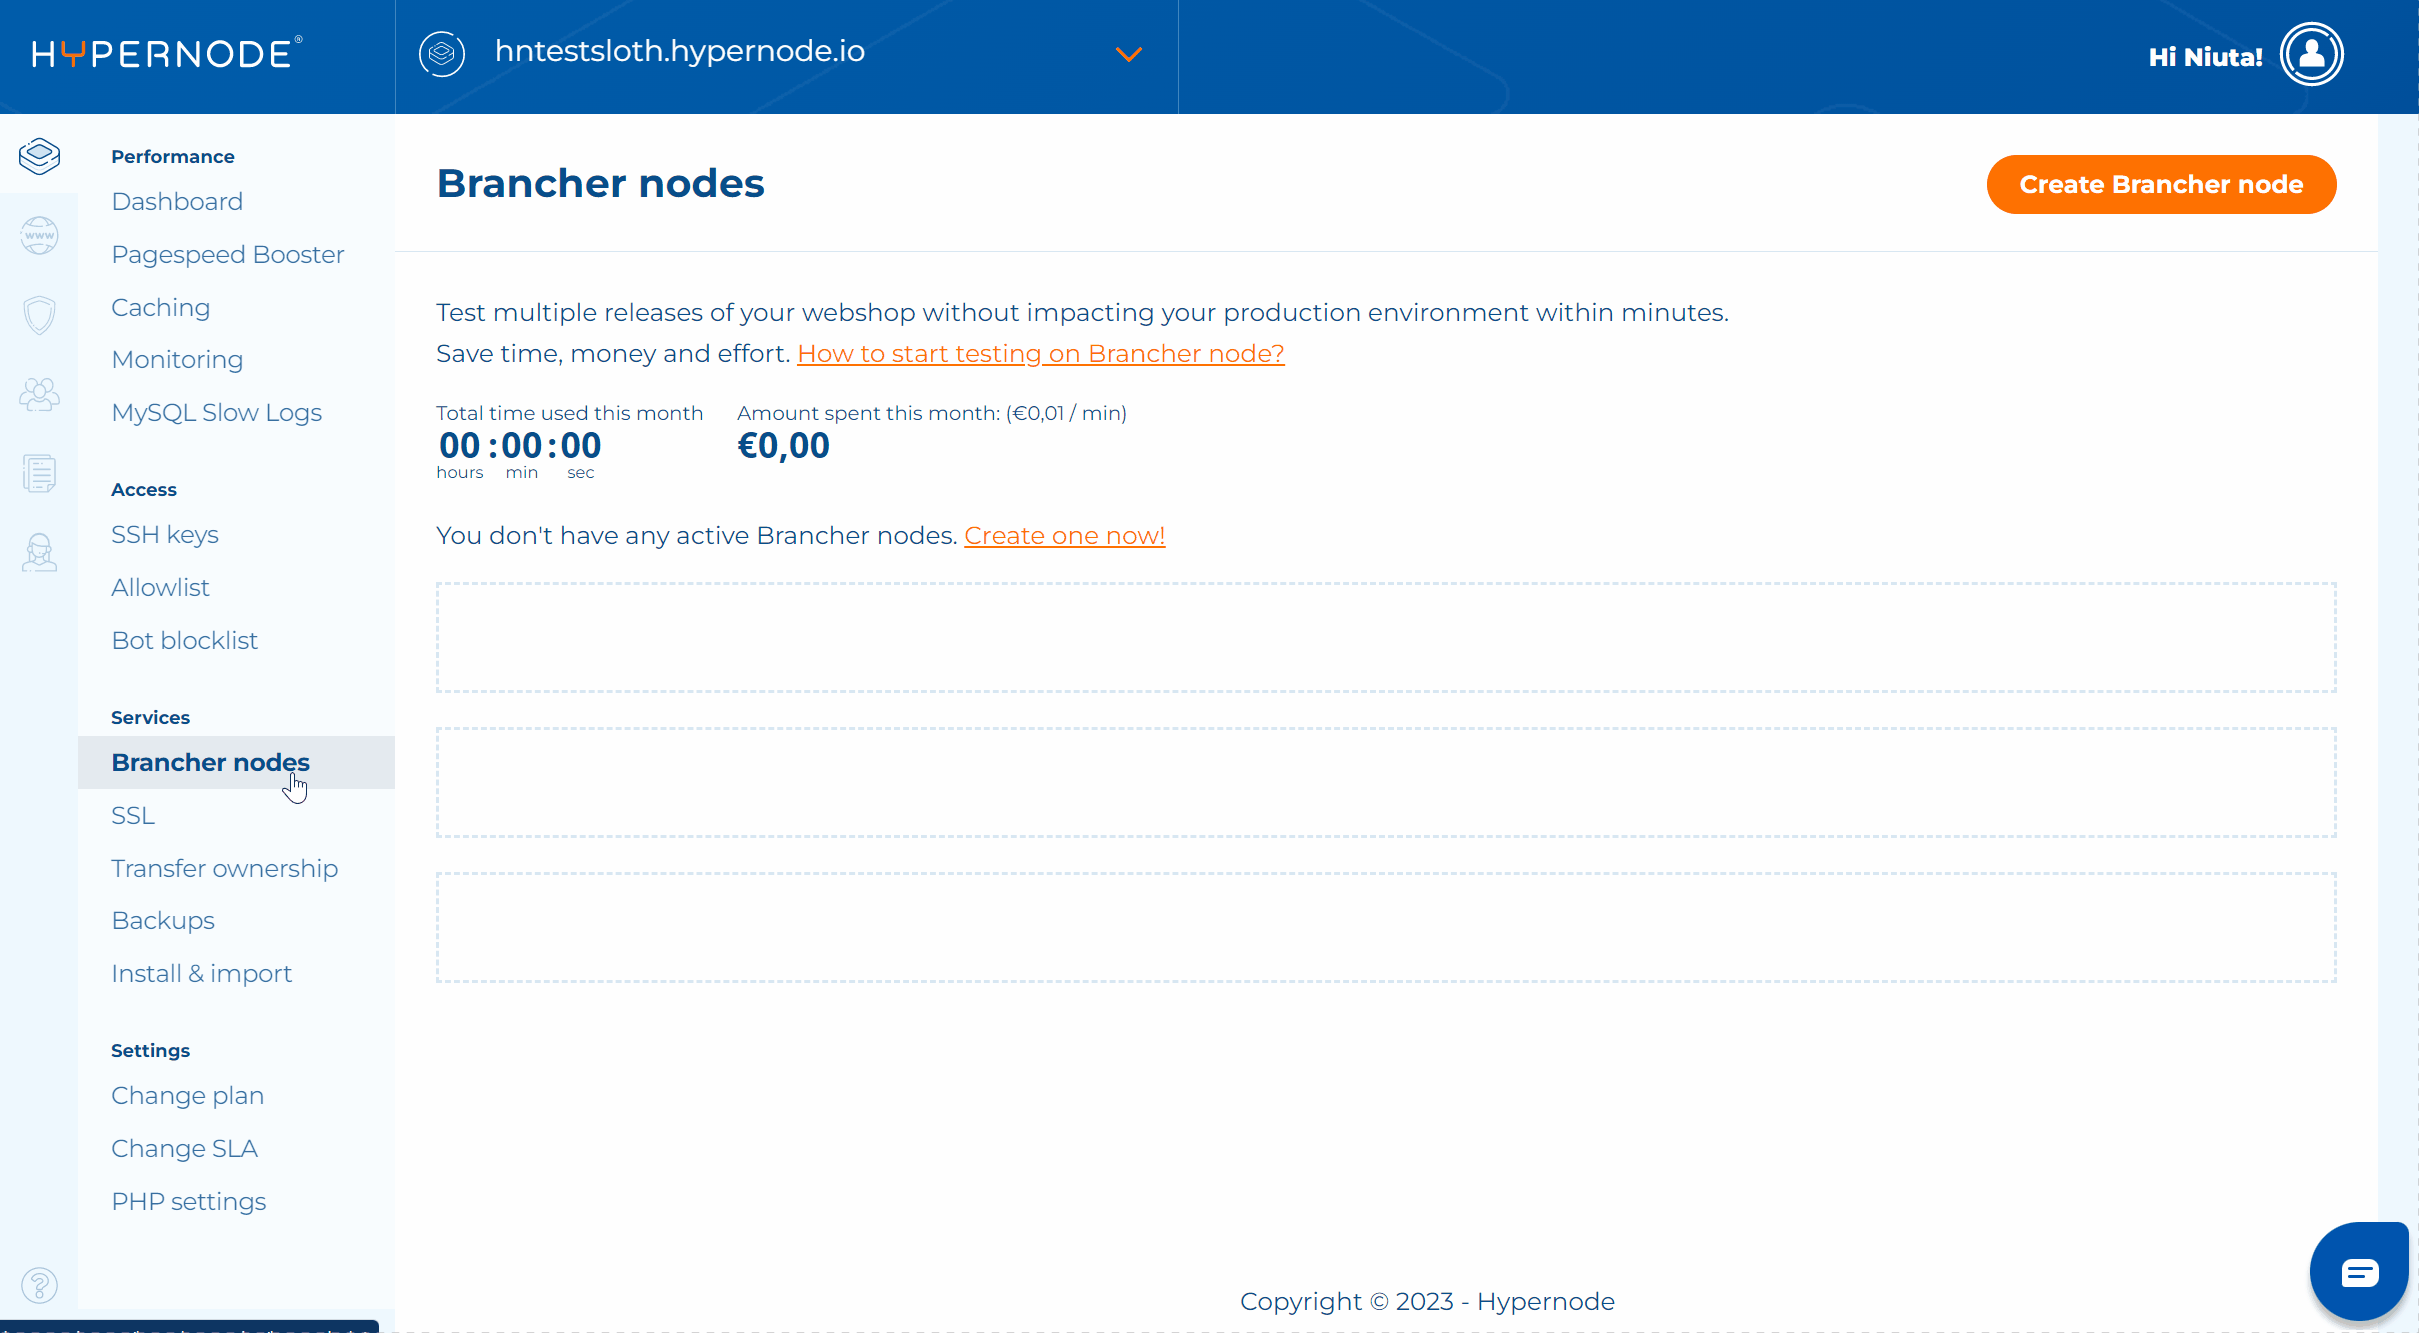
On this page, you can see the total time used and the amount spent this month. After creating your first Brancher node the timer starts and you can clearly see the overview of the time spent per each node. When you terminate the Brancher, the time is saved in the total timer at the top of the page, but the Brancher node itself will appear later on in the History tab (wip), where you will find all of your past nodes.
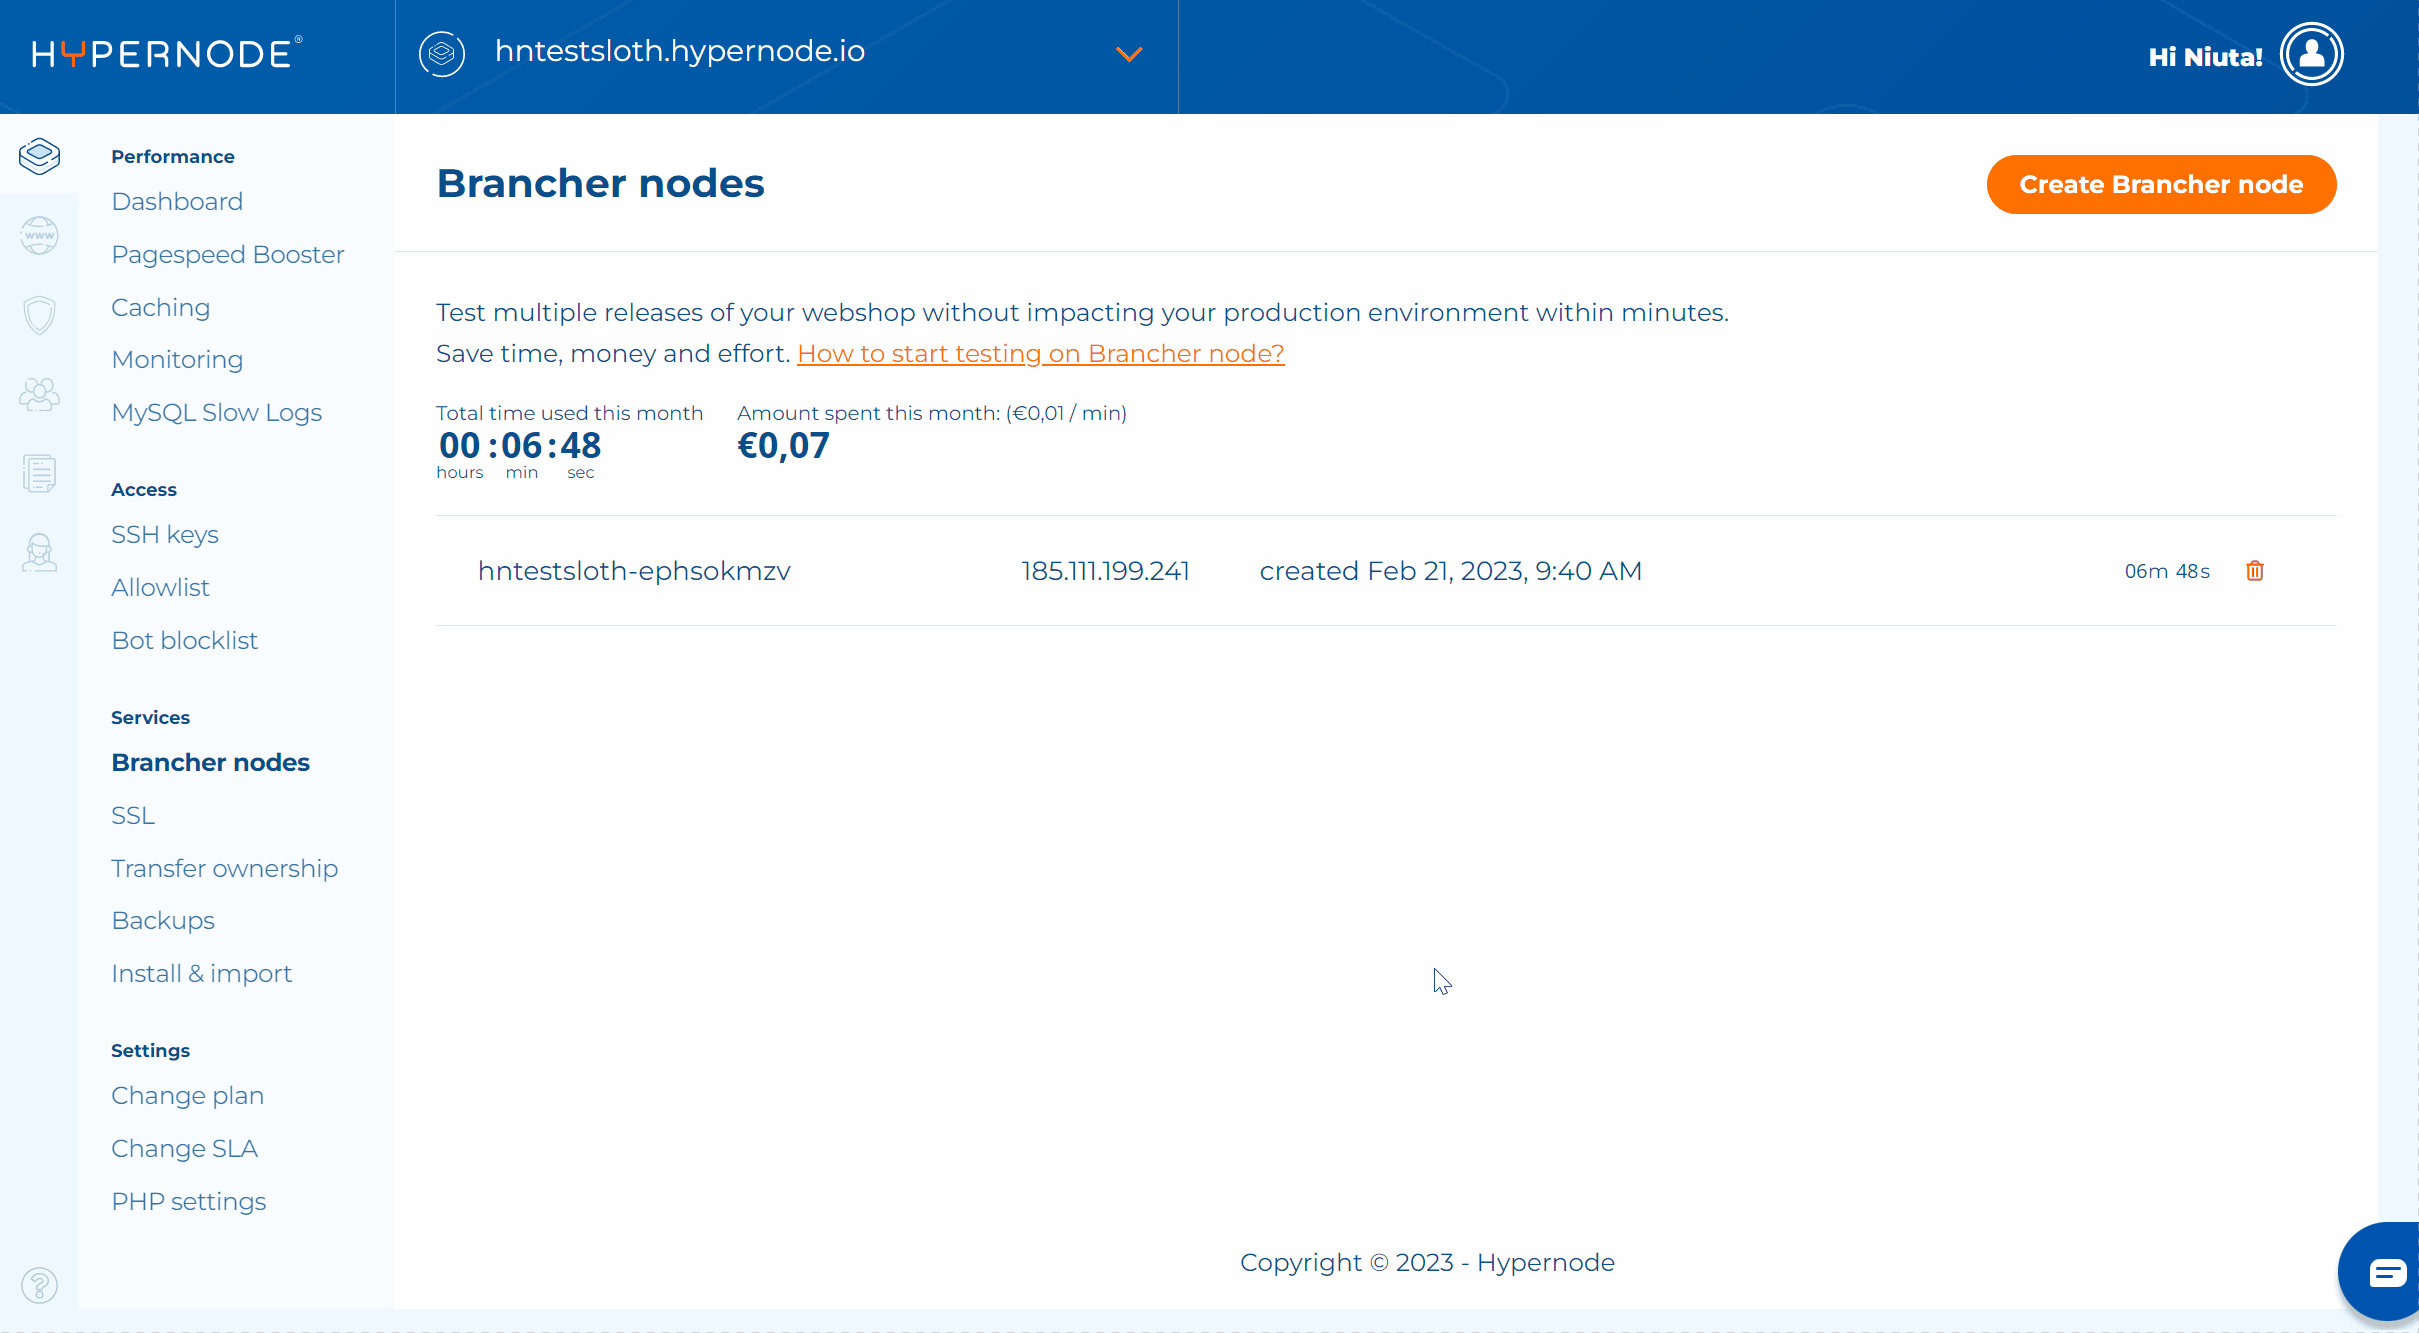
Once the Brancher node is provisioned, the IP appears next to the Brancher node name. At this point, you can log into your Brancher node via the command line to configure and test what you need.
See documentation about Brancher nodes.
The functionality is still improving, but already at this point owners and admins of the Hypernode are able to manage limitless Brancher nodes in their panels.